Reports
Reports Dashboard
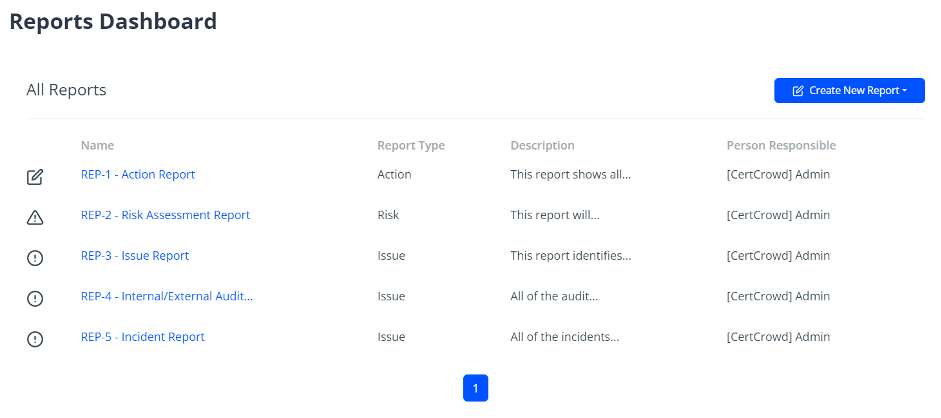
To access the Reports Dashboard, click on Reports in the top bar.
You will see all the reports you have access to. You can open each report by clicking on its name.
Creating a Report
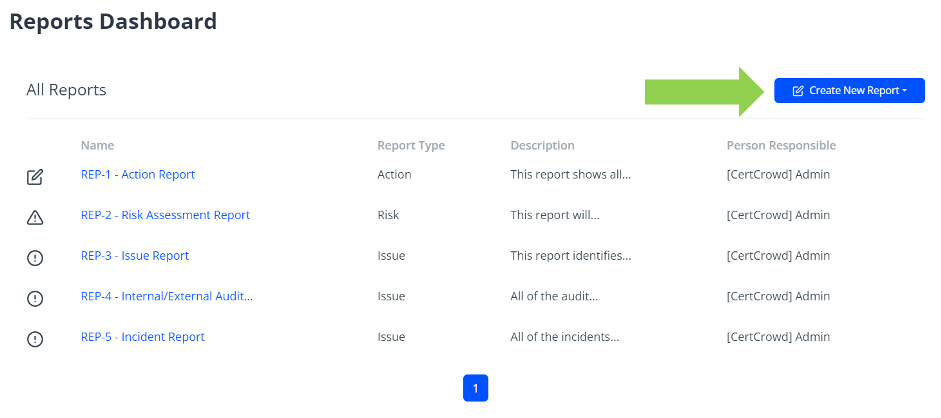
You can create a new report by clicking the blue Create New Report button in the top right.
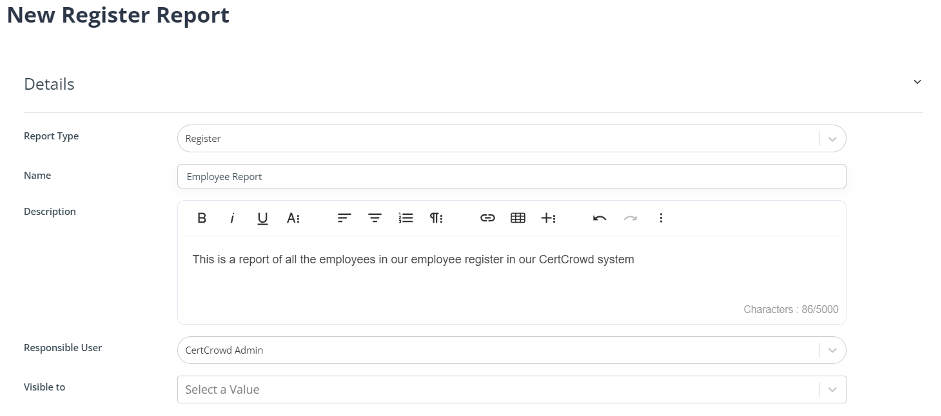
Select the type of report from the drop-down menu. The type of report you want to select depends on the type of data you want to view.
In the Details section, fill out the name and, if you'd like to, put a description to describe the report you are making. The responsible user for the report will be yourself by default, but you can change this. You can also use the Visible to field to select users and roles that will be able to view and run this report.
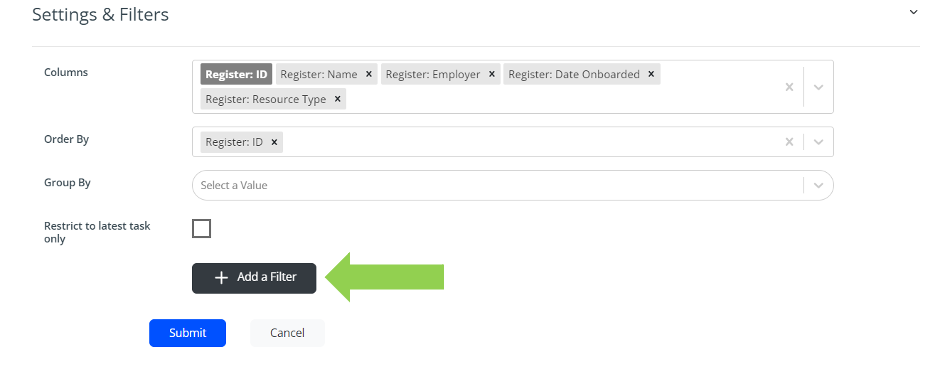
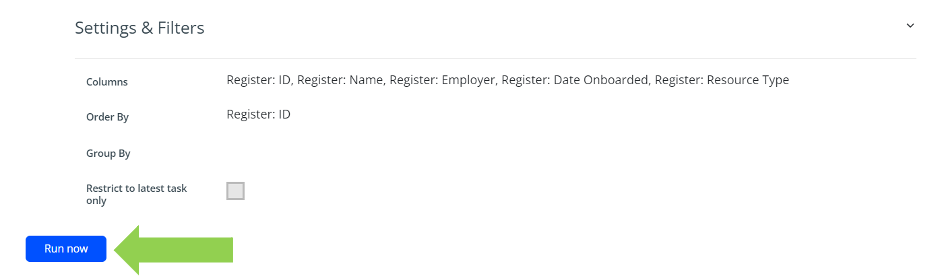
Next, under Settings & Filters, add some columns that will be pulled into the report. These columns are the fields on the pages.
If you would like them ordered or grouped by a particular field, you will be able to do so with the Order By and Group By drop-down menus.

You can filter for specific things such as words, dates, IDs, or names by using the Add Filter button down the bottom.
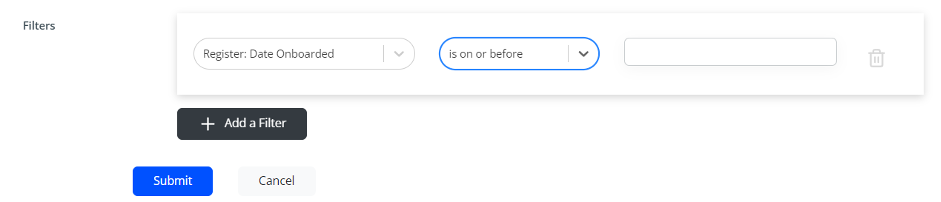
Click Submit to save.
Running a Report
To run the Report, click Run Now.
Scheduling a Report
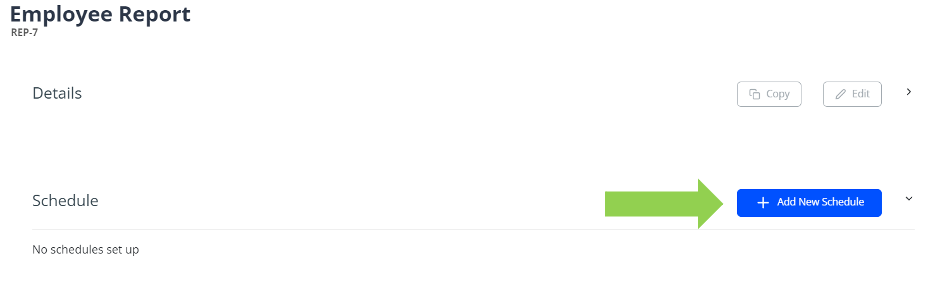
If you are the assigned responsible user for a report, you will be able to schedule reports to be sent to your email inbox. This can be done by clicking the blue Add New Schedule button next to Schedules.
Set the recurrence using the drop-down menu. You can set the day of the week or month if the schedule is set for weekly or monthly recurrences.
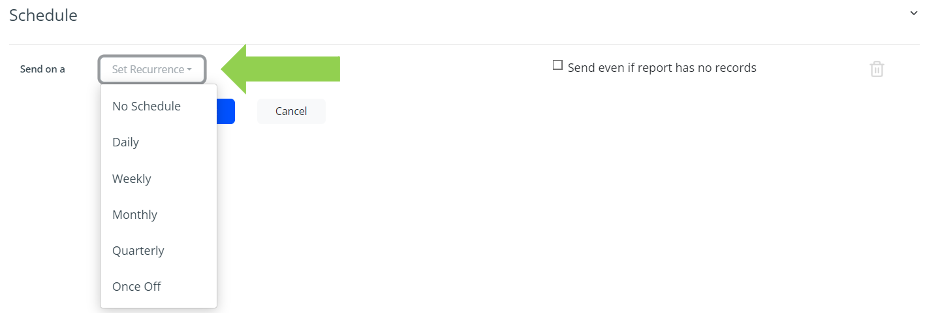
Click Submit to save.
To delete a schedule, click the bin icon to the right of the schedule.
